Learning to carve properly and what makes the carving technique work
Skiing should be fun, of course. If it also looks good, that's definitely the cherry on top - you don't want to slide down into the valley, you want to show that you've got your boards under control! Carving is the keyword for all those who are neither complete beginners nor professionals and are looking for a new challenge. We explain how you can learn to carve properly, which carving skis are available and what you should definitely know about the carving technique!

What actually is carving?
The term carving is derived from the English word carve. It means “to carve”, and that's exactly what you do when carving skis: once you have mastered your edge turns, you carve clear lines in the snow. Sounds simple, but it's not necessarily!
Carving: Turning on the edge
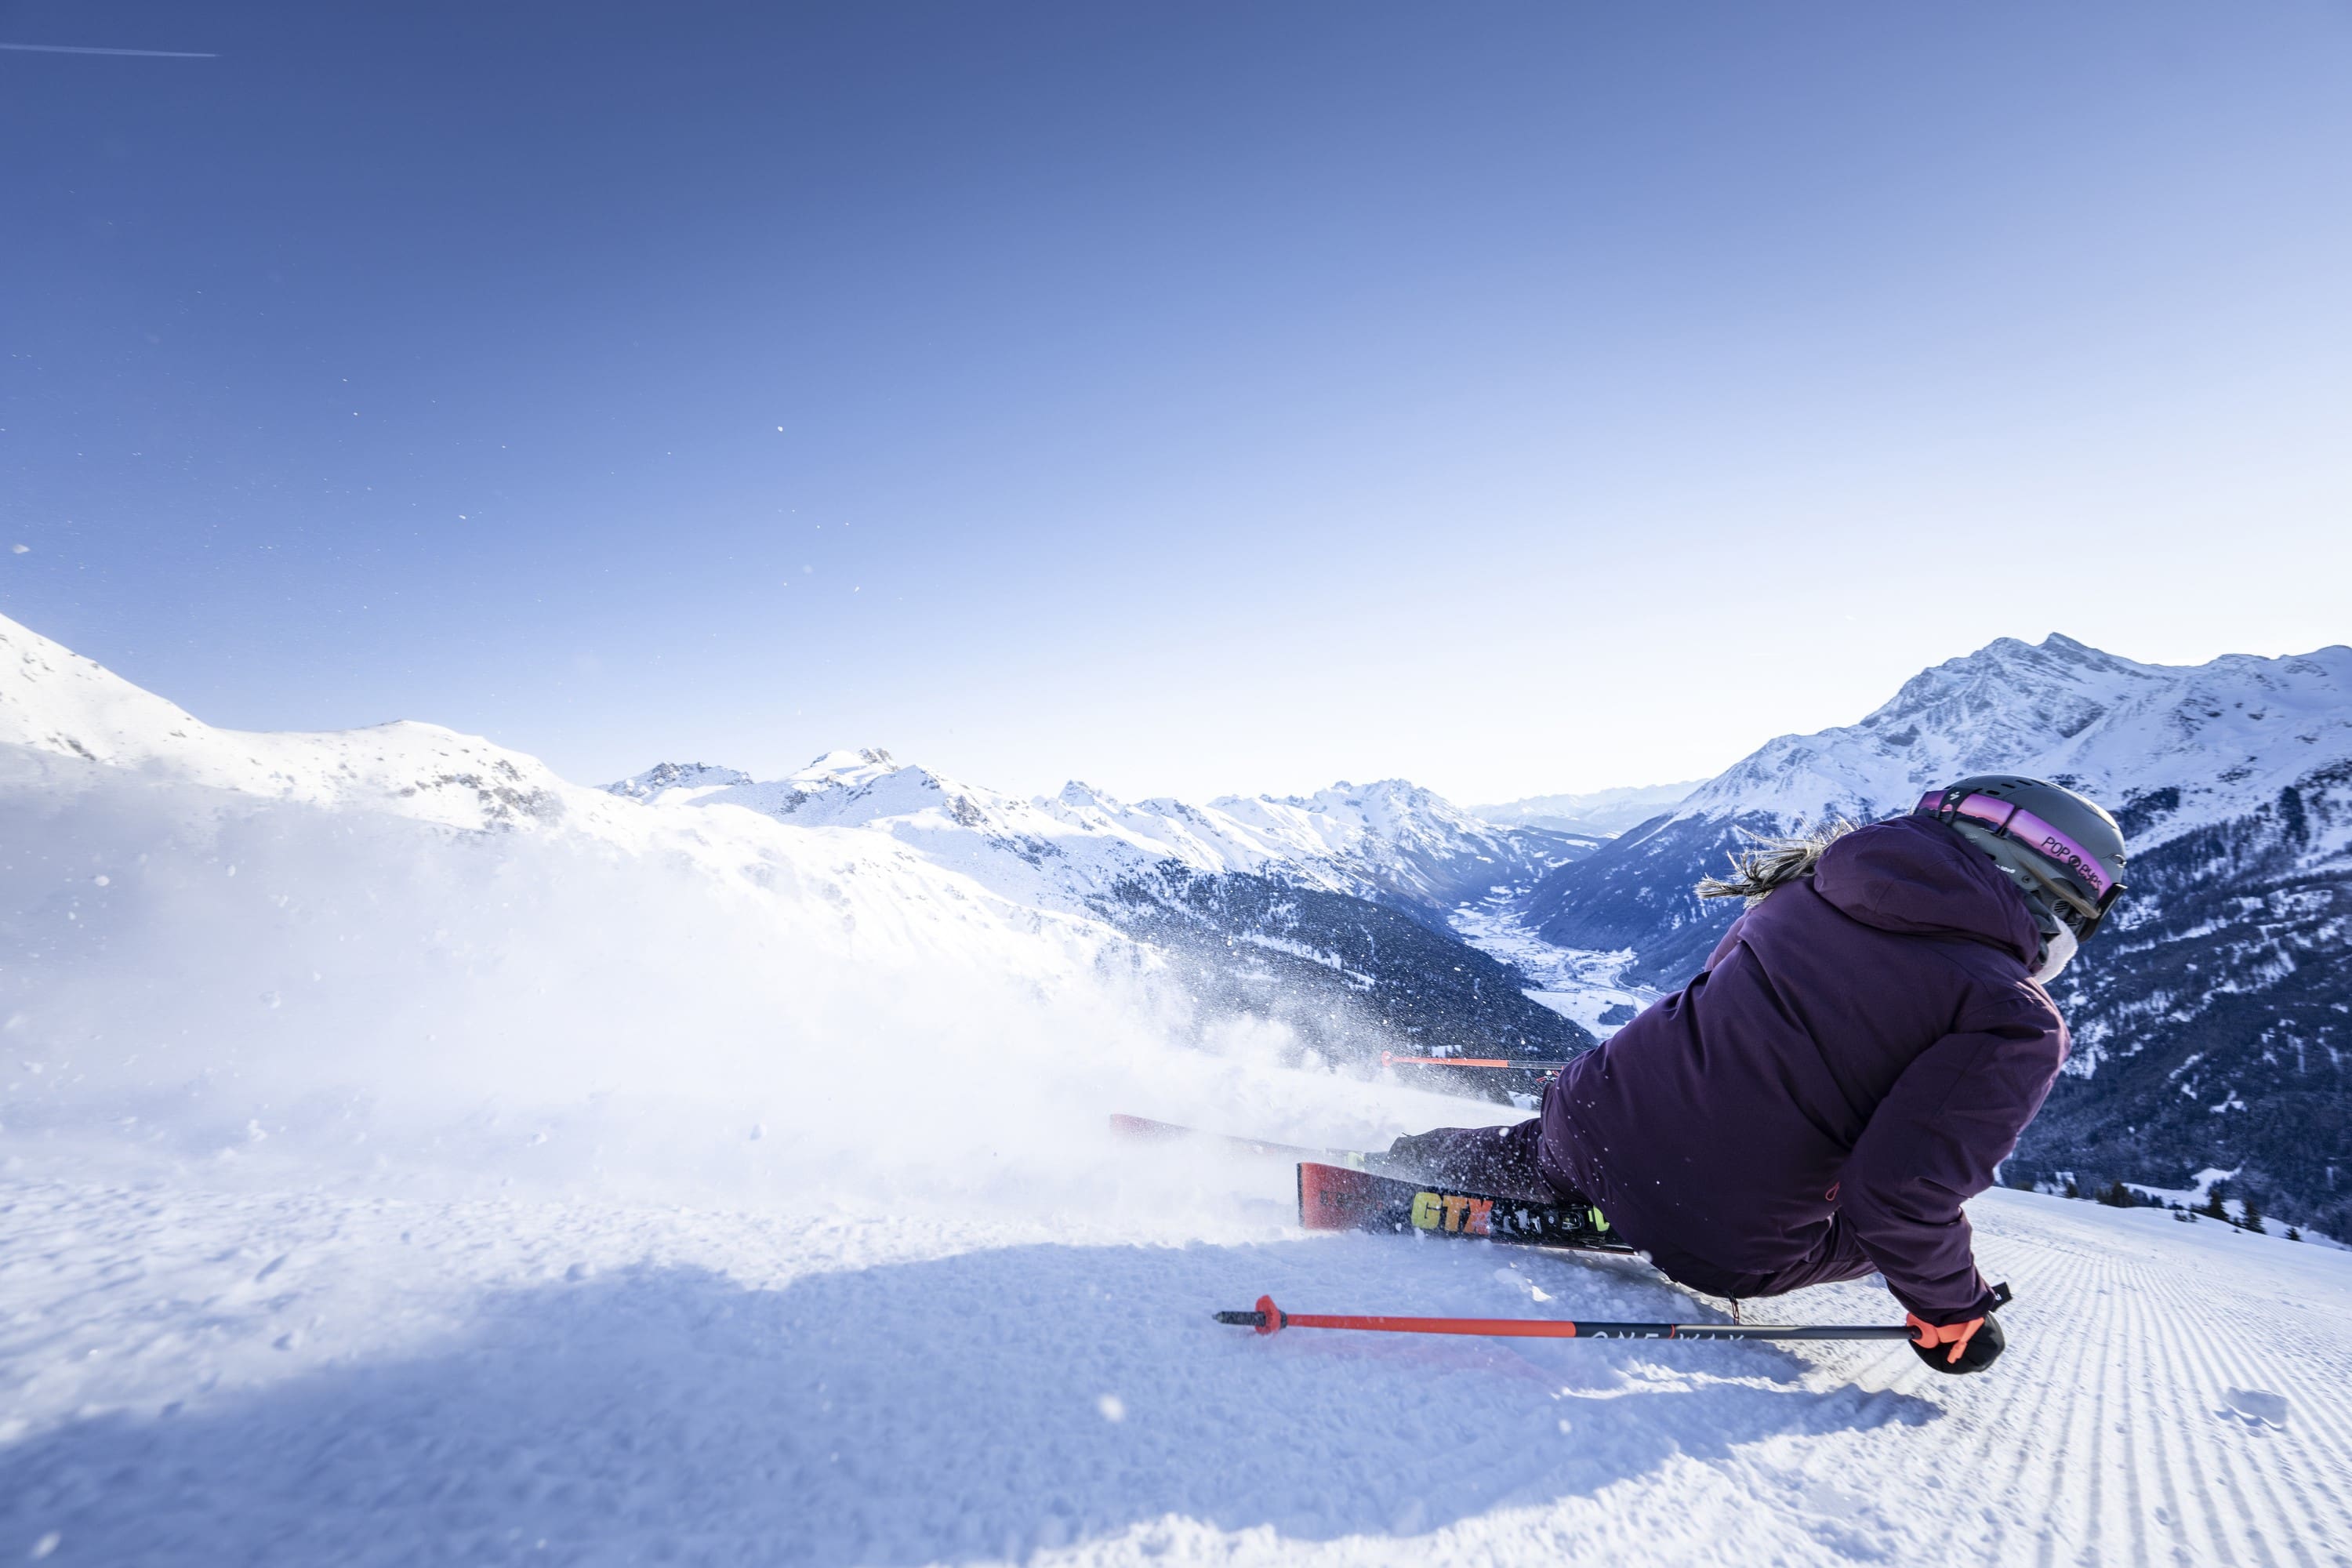
When carving, you don't drift around a bend, but make your turns on the edge of the carving skis. The steeper the angle between the edge and the slope, the tighter the turn you make. For this to work and for gravity not to get in your way, you naturally need the right technique and the right skis.
Thanks to the fact that carving skis have a waisted cut (i.e. slightly wider at the front and back), edging and re-edging is no longer witchcraft. Incidentally, the waisted shape of the carving ski was copied from the snowboard. However, if we take a closer look, we can't necessarily talk about carving skis...
What makes carving skis special?
Probably the most important feature of a carving ski is the aforementioned waist: the thinner center makes the ski easier to control and more flexible. Modern carving skis also tend to be short, as long boards make edging much more difficult. Apart from that, not all skis are the same:
Slalom carvers tend to be short compared to race models. They are strongly waisted and enable a particularly small turn radius - of course, we are talking about slalom skiing after all.
Race carvers are almost body-length and are therefore literally the longest of the carving skis.
All-round carvers are ideal for beginners as they react quickly and are forgiving of many mistakes. All-round models can handle a lot of terrain, which is why they are also popular with advanced skiers.
Fun carvers are now more commonly known as SL carvers. However, the fun factor has not changed: These carvers are a maximum of 1.30 m long and perfect for anyone who really wants to let off steam with their edge turns.
But before you can let off steam, you first have to learn the basics - otherwise it would be too easy!
Learning to carve properly: The first steps for carving beginners
A small note at this point: If this is your very first day on skis, there will be plenty of time for your carving skills later on. It's better to start carving once you've developed a feel for how your skis react and what you can do on them. Have you already done that and are ready for your first carving session? Then let's get started with the technical basics!
What you should know about carving technique
When someone is good at carving, it looks like the easiest thing in the world. Let me tell you: It takes a lot of practice - and basic knowledge. You should know this as a beginner:
Carving requires a lot of body tension. You should therefore have a certain basic level of fitness (ideally built up with ski gymnastics).
Edge turns only work with a certain initial speed..
The inner ski is always under less strain than the outer ski.
Both skis should be tilted towards the piste at almost the same angle.
Keep your skis parallel and really dare to “get on” the edge. Doing things by halves makes carving a wobbly affair!
The upper body must remain as stable as possible. Keep tension - your legs will take care of the movement!
Ready? Then it's best to start with a little “dry run”: position your skis parallel to the slope and lean lightly on your poles. Now test out the edge by pushing your knees towards the slope as far as possible. This is one of the most important movements when carving.
Learning to carve, but the right way: how to master your carving skis
Describing skiing in words is of course always one of those things - ultimately, it's what you do on the slopes that counts. But when it comes to theory, a little step-by-step guide certainly doesn't hurt! So here's a little carving 101:
Step 1: Bring your skis into a parallel, hip-width position.
Step 2: Shift your weight slightly onto your front foot, bend your knees and tilt both skis to the inside of the turn. Put more weight on the outer ski. This is how you initiate the turn.
Step 3: Hold your upper body slightly in the opposite direction. Caution: It should remain centered over the skis, just don't wobble back and forth unsteadily! Your legs and skis should practically glide underneath you and do the main work.
Step 4: Move your upper body slightly forwards and upwards. This will automatically take you out of your squat. The skis are relieved and the momentum is released.
Step 5: When your upper body is at its highest point, this is the ideal time for a turn in the opposite direction, the so-called re-edging. Start from the front!
You don't have to edge from one side to the other straight away. To get started, it's enough if you can carve individual turns in the snow - practice makes perfect!
Posture when carving
Whether your carving turn works depends entirely on how you use your body. Here are the most important tips at a glance:
Your torso must be as stable as possible and directly over the skis.
Never lean backwards.
Shift your body weight forward.
Turn initiation starts in the ankles and is then controlled by the legs. The ankles, knees and hips (and of course the waist of the skis) do pretty much all the work.
A wild up and down, as you might have in mind when you think of carving, does more harm than good to your turn. Somehow logical: you need a certain degree of stability for controlled turns, and your upper body has to provide it.

Carving skis put to the test: what you should look out for when buying
The perfect ski - that and nothing less is what you want when buying. For the ultimate carving experience, your new pair of skis needs the right length and the right waist.
The right length of carving skis
There are many rumors and outdated rules about the right ski length. So which length is the right one for carving skis? The first thing you need to know is that height is not the most important factor.
How long a ski should be always depends on what you want to ski and how experienced you are. With a very long ski, carving requires all the more strength and skill. For beginners, it is usually a good guideline if the ski reaches up to the chest and maximum to the shoulder. In other words, your height minus 10-15 cm if you want to express it in figures.
If you don't really know your way around yet, it's always worth getting personal advice from someone who does. You can find a practical overview of different ski lengths here to get you started.
The right waist of carving skis
The waist length also depends on the planned skiing style. If you want to ski slalom, the carving ski needs to be more tapered than if you just want to occasionally make a few turns with your all-round carvers. Basically, the more tapered the ski, the tighter the turns you can make.
With the right skis and well-trained leg muscles, carving really isn't black magic. So hit the slopes: The proof of the pudding is in the eating!
.jpg)